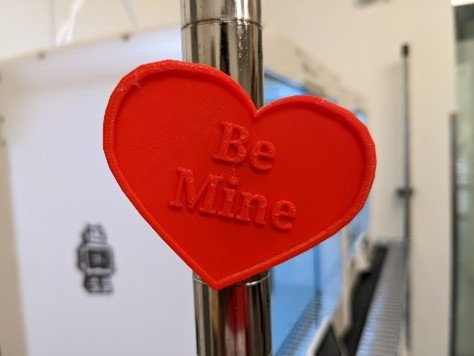
For a Valentine’s Day event at the Idea Lab, I created a workshop that let users add their own custom text to a heart shaped magnet using Tinkercad. The Heart Magnets were designed with a 10.2mm x 2.6mm hole in the back to fit in the magnet. The hole was made slightly larger than the magnet so it would friction fit, but the magnets were very strong, so I had to add super glue. This was so the magnets would stay in the heart. This event also teaches the basics of Tinkercad and 3d modeling. This is done by them manipulating the size and shape of 3D models as well as combine objects and export them as STL files.
Equipment/Software:
- Tinkercad
- Prusa MK3S+ 3D printers
- Overture PLA
- 10mm Magnets
- Super Glue
Step by Step:
- Designed the Hearts in Tinkercad

- Exported the file as STL
- Created examples of the magnets with generic text to show people during the event what they should expect

- Made a version of the Heart Magnets without any text so people would be able to add their own during the event

As this project was my first time creating a 3D model from scratch, it was challenging to enhance the shapes of the heart, thus making it more complex. The heart shape I ended up making had a raised border and was large enough to fit at least two lines of text. It was also challenging to teach all the students how to use Tinkercad, make sure their text was a proper size, connected to the 3D model and 3D printable.
It was interesting to do something like this instead of getting a 3D model from Thingiverse and printing it. This has helped my 3D design skill and knowledge. This event also required me teach students how to use Tinkercad. I have had experience teaching students how to use all the different types of equipment here at the Idea Lab because of my job as an Educator, however, this was my first time teaching 40 students how to 3D model.
