Categories
3d printing CAD - Design Project

3D Printed Heart Magnets

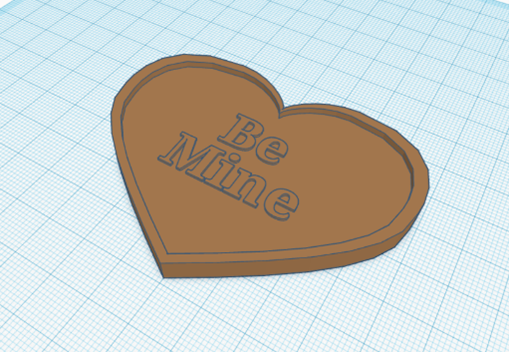
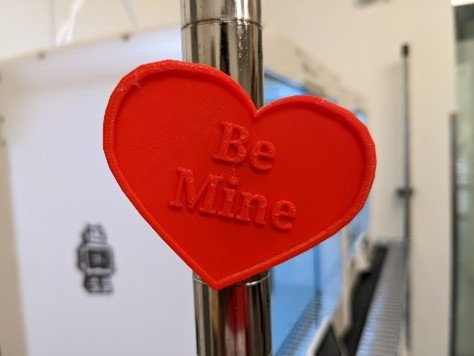
For a Valentine’s Day event at the Idea Lab, I created a workshop that let users add their own custom text to a heart shaped magnet using Tinkercad. The Heart Magnets were designed with a 10.2mm x 2.6mm hole in the back to fit in the magnet. The hole was made slightly larger than the magnet so it would friction fit, but the magnets were very strong, so I had to add super glue. This was so the magnets would stay in the heart. This event also teaches the basics of Tinkercad and 3d modeling. This is done by them manipulating the size and shape of 3D models as well as combine objects and export them as STL files.

Equipment/Software:

  • Tinkercad
  • Prusa MK3S+ 3D printers
  • Overture PLA
  • 10mm Magnets
  • Super Glue

Step by Step:

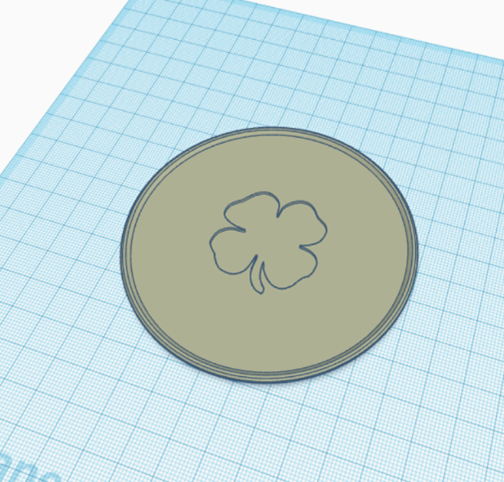
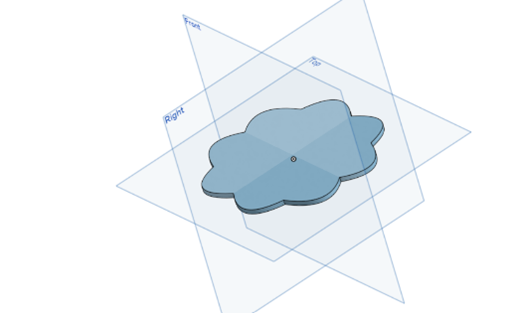
  • Designed the Hearts in Tinkercad
  • Exported the file as STL
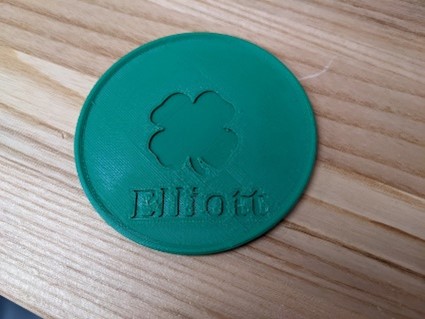
  • Created examples of the magnets with generic text to show people during the event what they should expect
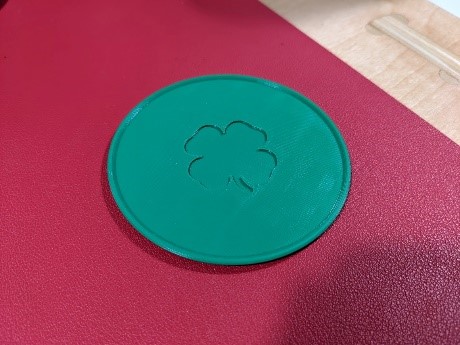
  • Made a version of the Heart Magnets without any text so people would be able to add their own during the event

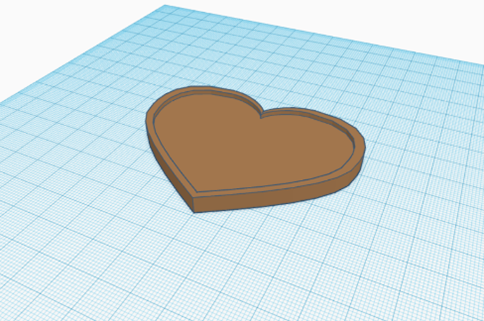
As this project was my first time creating a 3D model from scratch, it was challenging to enhance the shapes of the heart, thus making it more complex. The heart shape I ended up making had a raised border and was large enough to fit at least two lines of text. It was also challenging to teach all the students how to use Tinkercad, make sure their text was a proper size, connected to the 3D model and 3D printable.

It was interesting to do something like this instead of getting a 3D model from Thingiverse and printing it. This has helped my 3D design skill and knowledge. This event also required me teach students how to use Tinkercad. I have had experience teaching students how to use all the different types of equipment here at the Idea Lab because of my job as an Educator, however, this was my first time teaching 40 students how to 3D model.

Categories
CAD - Design machine shop Project

Arcade Joystick

by Trevor Neal and Massimo Bacchiocchi

This event lets students build their own arcade joystick controller. It can be used with PC’s, Raspberry Pi’s and other emulators. The case for the arcade stick was designed in Fusion 360. Then, exported as dxf files and combined in CorelDRAW to fit on one 12 x 24 inch sheet of 3mm plywood. The combined file was laser cut on the Epilog Fusion Pro. The PCB, buttons, and joystick are all plug and play with no soldering required making it very easy for students to build. The PCBs are programmed using an emulation software or front end like retropie or libretro. They should be able to be remapped in games such as street fighter V on PC.

Equipment/Software:

  • Fusion 360
  • CorelDRAW
  • 3mm Plywood
  • EG starts Arcade Joystick lever
  • EG starts Light up Arcade buttons
  • EG starts Arcade stick PCB
  • M3 Screws
  • M3 nuts
  • M4 Screws
  • M4 Nuts
  • Epilog Fusion Pro Laser Cutter

Step by Step:

  • Designed the container in Fusion 360
  • Exported the file as a DXF
  • Laser cut out all the pieces on the Epilog Fusion Pro
  • Test fit the pieces
  • Screw in all the buttons and stick to the top case
  • Install the front two buttons
  • Screw the PCB board into the bottom of the container
  • Assemble the sides, plug in all the wires into the PCB, the buttons, and stick
  • Fully assemble the joystick controller

During the creation of the container housing the joystick, one of the challenges we overcame was determining how to best fit the button layout on the top face of the controller. We looked to the internet to see official designs of actual full-sized arcade cabinets and based our layout on theirs.  

Through this project we learned a lot about designing laser-cuttable containers in Fusion 360. I learned how to break down the full container model into different components making up each face. They could then be laser cut and slotted-in together.

Categories
3d printing CAD - Design Project

Shamrock Coasters

For our St. Patrick’s Day event, I let attendees write their own custom text on a 3D printed coaster with a shamrock on it. The coasters were designed as a disk shape with a raised lip on the edge. The lip is rounded into the disk to make a smooth slope up to the top of the shamrock shape. In the middle was a vector I found on the internet, and it is embedded 1.2mm into the coaster. The text is also embedded 1.2mm.

Equipment/Software:

  • Tinkercad
  • Prusa MK3S+ 3D printers
  • Overture PLA

Step by Step:

  • Designed the coasters in Tinkercad
  • Exported the file as STL
  • Made examples of the coasters with generic text to show people during the event what they should expect
  • Made a version of the shamrock coaster without any text so people would be able to add their own during the event

I tried making a coaster in the shape of a shamrock instead of just having a round coaster with a shamrock on it, but I was unable to make one that was visually appealing, so I just ended up using my original design. It also was difficult to get attendees to use the correct setting for their text so that the text was embedded into the coaster.

I learned a new 3D modeling software, onshape, to create first version of the coaster. This allowed me to learn a more advanced 3d modeling software. I now have the capability to create more advanced models. This event also helped my teaching ability as I had to teach a large group of students how to embed text into a shape.