by Trevor Neal and Bryan Bushey
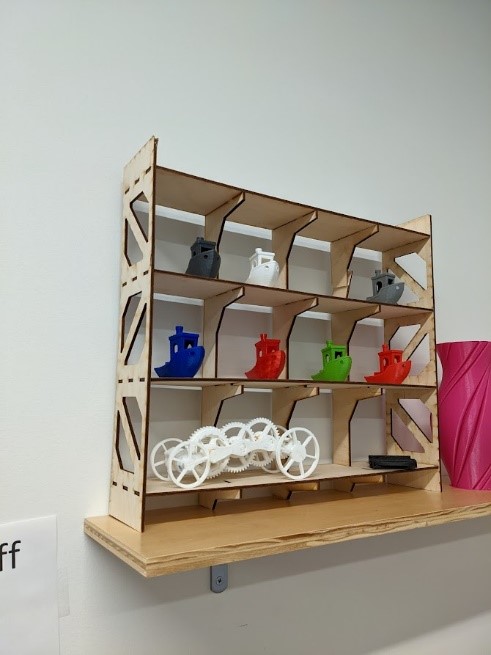
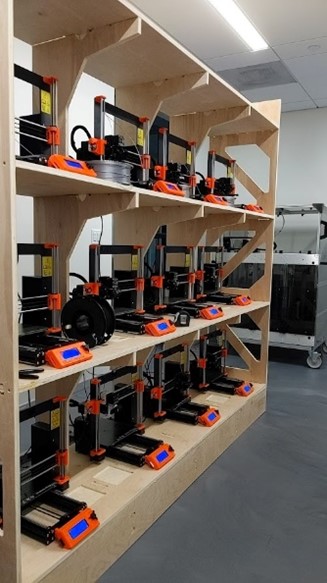
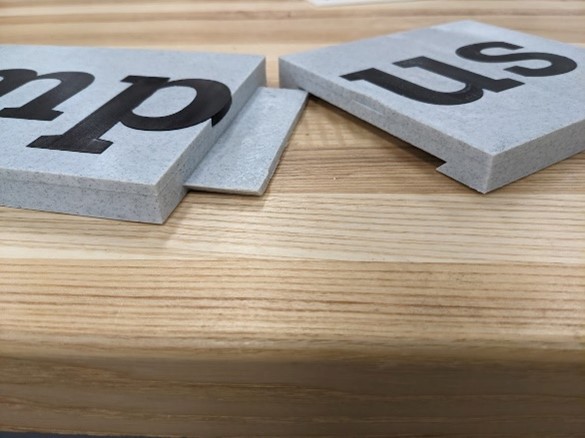
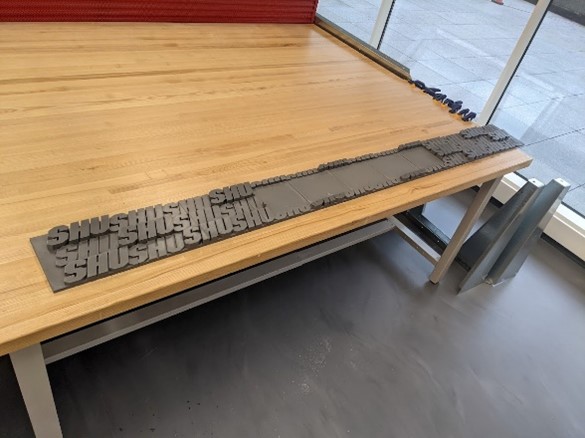
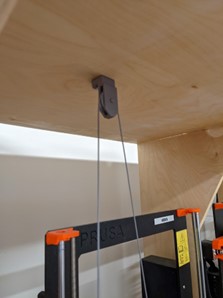
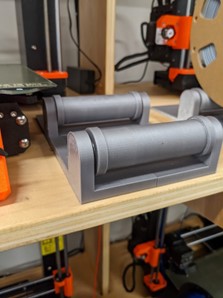
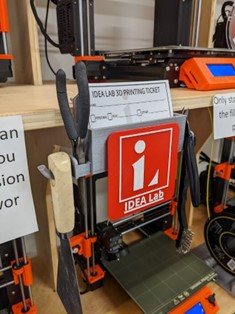
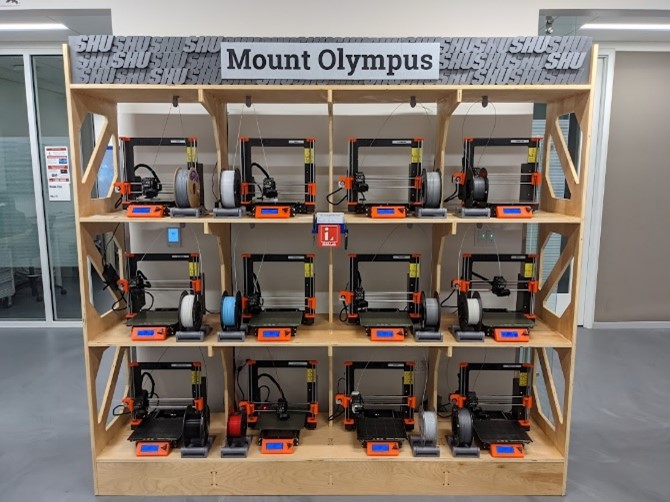
For the arrival of 12 new Prusa MK3S+ 3D printers, we needed to design a system to streamline the 3D printing process for new and returning users. We created a large shelf to store the printers by first using Fusion 360 to implement the design. We then created a scale model to accurately determine measurements. Next, we cut on the lab’s ShopBot CNC machine. Once all the pieces were cut, we assembled the shelf and sanded at 220 grits. Applying a polyurethane finishing after. When the wall was complete, we designed 3D printed filament spool rollers and pulleys to allow easy access for changing the printer’s filament. After, we designed a 3D printed sign to label our print farm, “Mount Olympus”, since we named all 12 of our printers after the 12 Greek Gods.
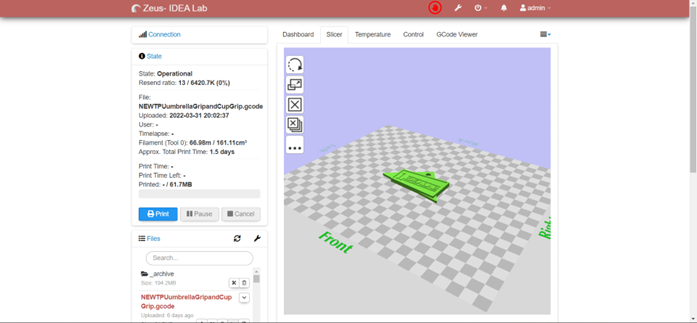
Our goal with the usability of the print farm was to create an online website that allows users to select one of the lab’s Prusa 3D printers, upload their model, have it sliced using our custom profile, and automatically start the sliced print. We decided to use OctoPrint. OctoPrint is a fully open-source web server/interface to directly connect to a 3D printer. Originally, OctoPrint was designed to be installed on Raspberry Pi computers, since we had 12 printers, we wanted one system to do everything.
Equipment/Software:
- Fusion 360
- OnShape
- ShopBot
- Epilog Fusion Pro 48 Inch
- 3mm Plywood
- ¾ inch Plywood
- Linux Docker
- OctoPrint
- Overture PLA
- 22mm Ball Bearings
Step by Step:
- Designed the shelf in Fusion 360 and exported the file as a DXF
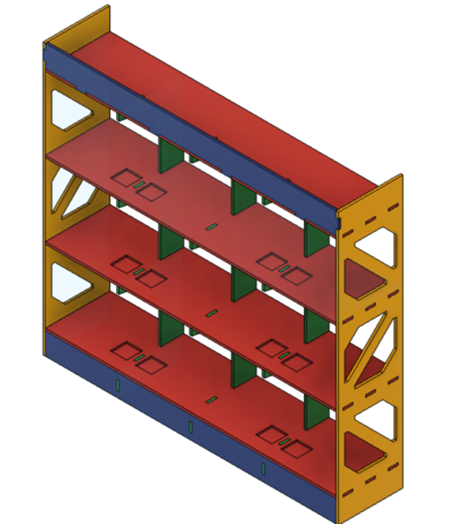
- Laser cut out a scale model on the Epilog Fusion Pro in wood, using 3mm plywood
- Cut out the finished design on the ShopBot using ¾ inch plywood
- Assemble the cut design (nail gun/wood glue/sanding 220 grit)
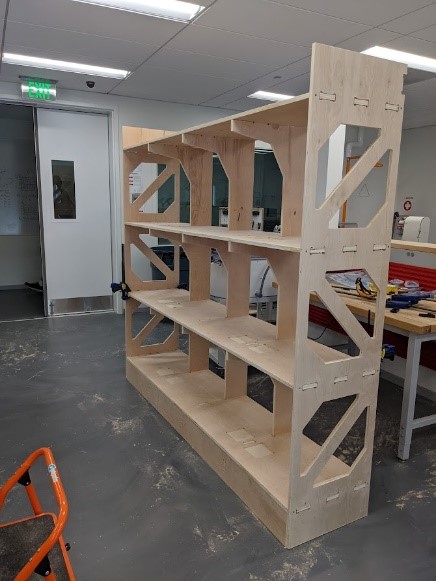
- Finished wood with polyurethane
- Designed spool rollers, pulleys, and wall-sign in CAD
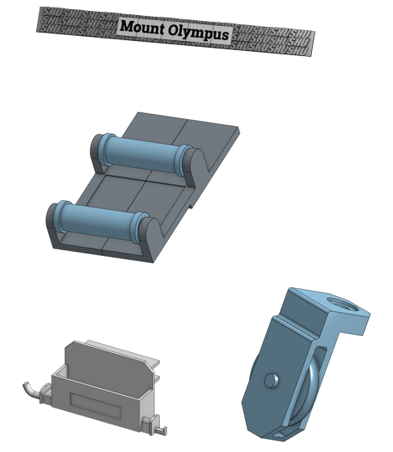
- 3D printed designs and installed on the shelf
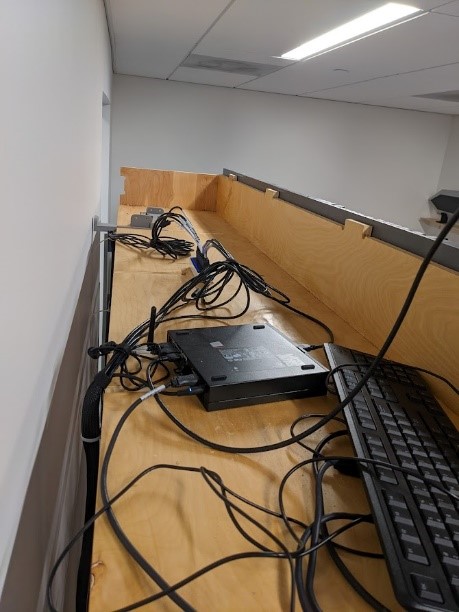
- Computer formatted to run Linux, with Docker instances installed

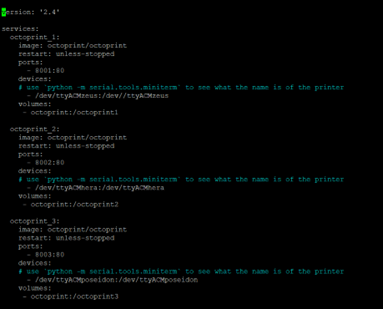
Using a standard desktop computer, we downloaded and installed Debian Linux to run 12 different docker instances of OctoPrint designed specifically to work for docker.
- Create profiles for OctoPrint on each instance and install the web slicer
- Connect printers to their respective instance
- Create website using HTML, CSS, JavaScript
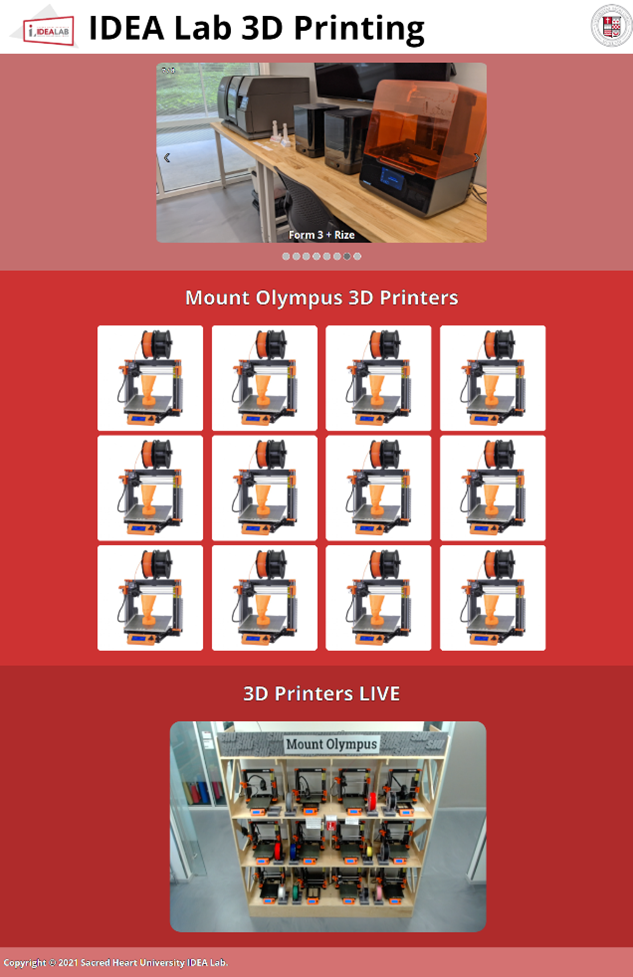
To make using the print farm easier to the end user, we created an HTML page that displayed links to each of the instances as well as a live webcam feed to visually monitor the printers.
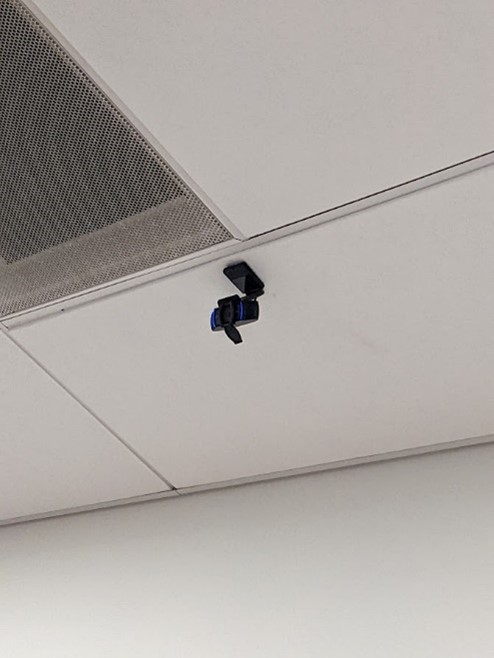
- Webcam installation
We wanted to also create a live webcam feed to accurately monitor on-going prints. To do so, we connected a webcam to the Linux computer and created a new docker instance for the webcam.
- Finished
One of the main challenges with this project was to get the computer functional with 12 instances of OctoPrint using Docker. We continued to run into problems on getting the OctoPrint slicer plugin to be functional. We overcame this by researching documentation on the slicer plugin and found the correct install information for Linux. Setting up the webcam had its own issues. When creating the webcam Docker instance, the recommended image file we decided to use did not function correctly, so after trying newer images, one finally produced the results we were looking for.
During this project we learned many new and innovative ways to create a 3D printing farm. For us, we learned a lot about how docker, and its instances work on Linux systems. Creating the website allowed us to learn HTML, CSS, and JavaScript together.