by Bryan Bushey and Trevor Neal
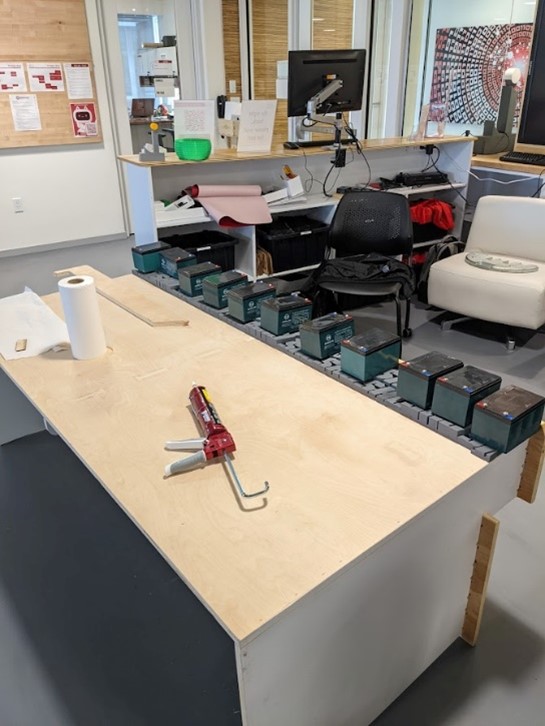
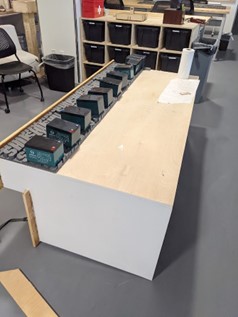
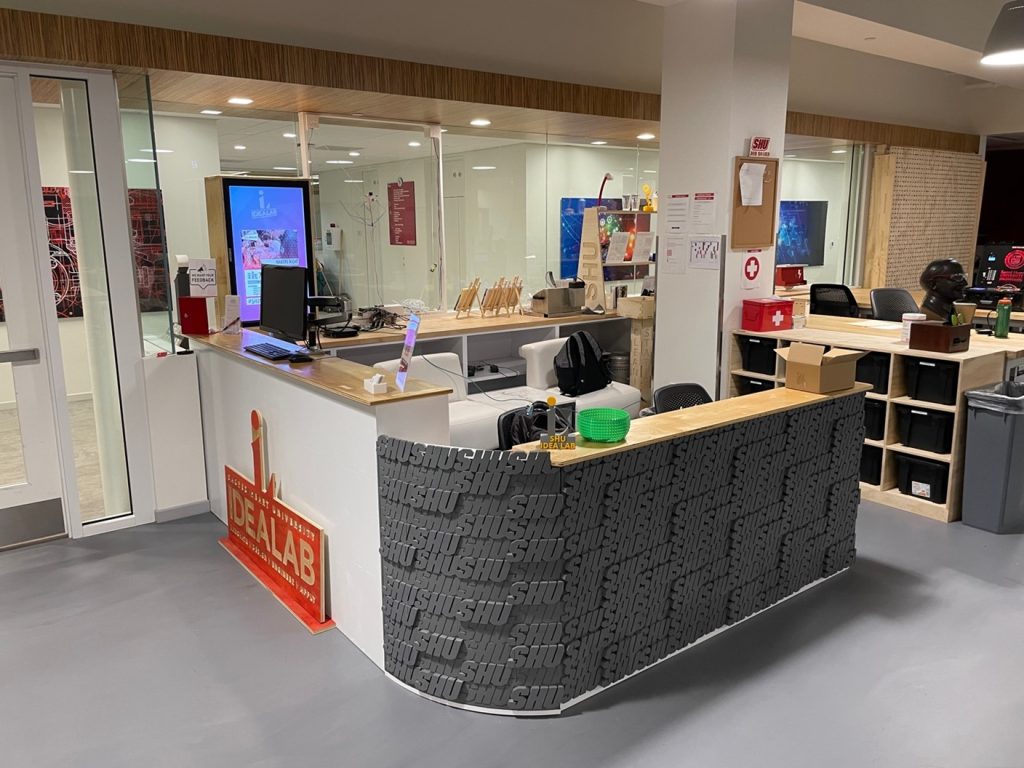
We designed the front desk of the makerspace at Sacred Heart University by using the Fusion 360 CAD software and the CNC Router known as the ShopBot. This wooden desk is used each day by staff as a receptionist desk. The second part of the desk is used for staff storage, and it holds a welcoming monitor for visitors.
Equipment/Software:
- Autodesk Fusion 360
- ShopBot
- Epilog Fusion Pro 48 Inch
- ¾ inch 4ft x 8ft Plywood
- 3mm 12in x 24in Plywood
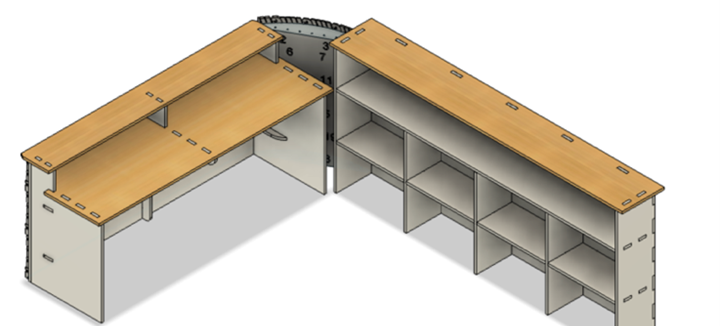
We designed the front desk using Fusion 360 keeping the thickness of the stock and multiple other measurements as ‘parameters,’ allowing us to alter the measurements seamlessly depending on future need-based changes. Some difficulties were that the wood sourcing in the design phase vs the final product. When we initially designed the desk there was supposed to be a sheet of butcher block. After some logistical challenges, we ended up deciding on a single ¾ inch sheet with stain to give it a polished look. The sides were painted white to match the surrounding room.
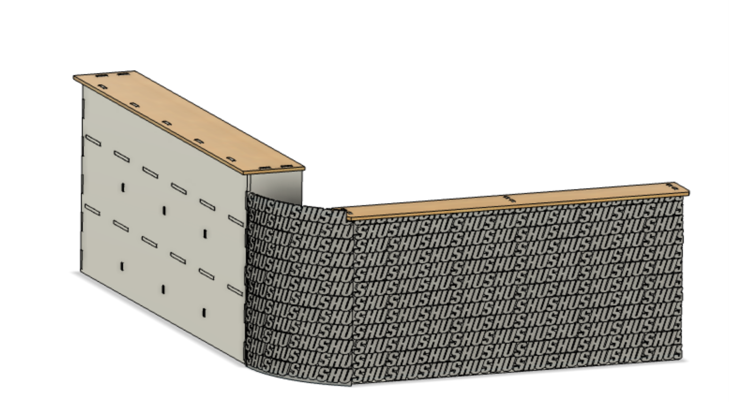
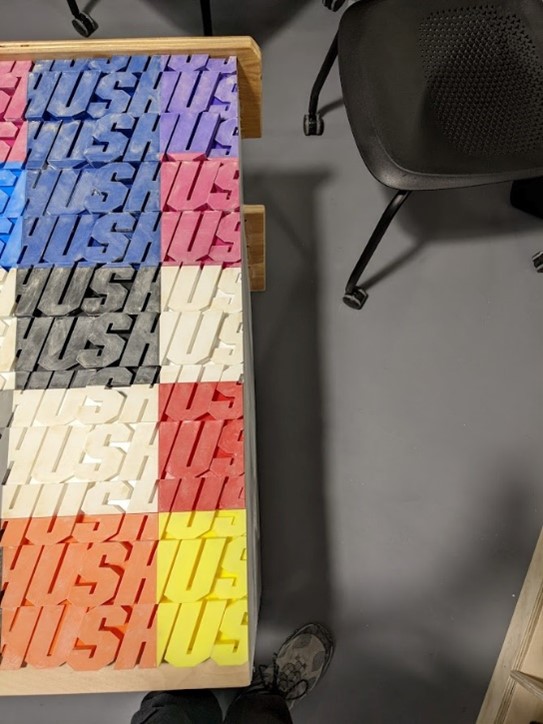
We worked on the 3D printed SHU wall that wraps around the model. To get the ‘SHU’ wall to look flush, we had to sand the entire face and apply multiple coats to get a smooth even finish. We only had a 3D printer bed size of no more than 12 x 12 inches, we had to slice the wall into 50 separate pieces for the flat section alone, and 24 pieces for the curved section.
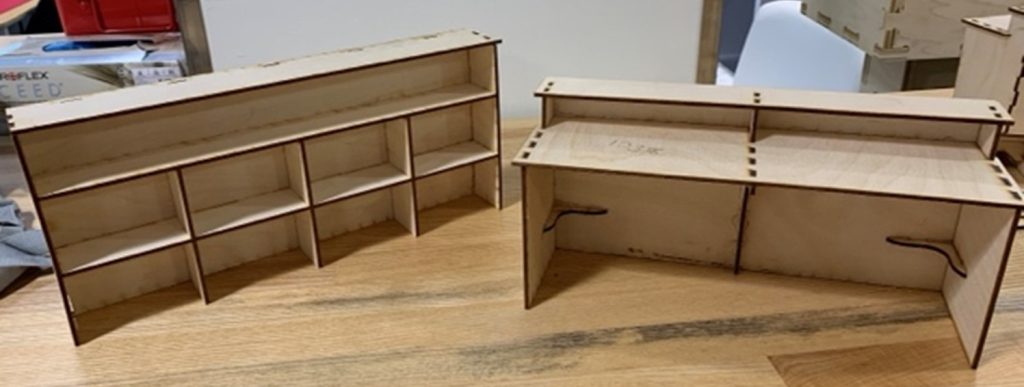
To ensure the finger joints were appropriately placed, we cut out scale models. By scaling the 3/4in plywood to the 3mm plywood, the models were the exact proportions that the final product would be.
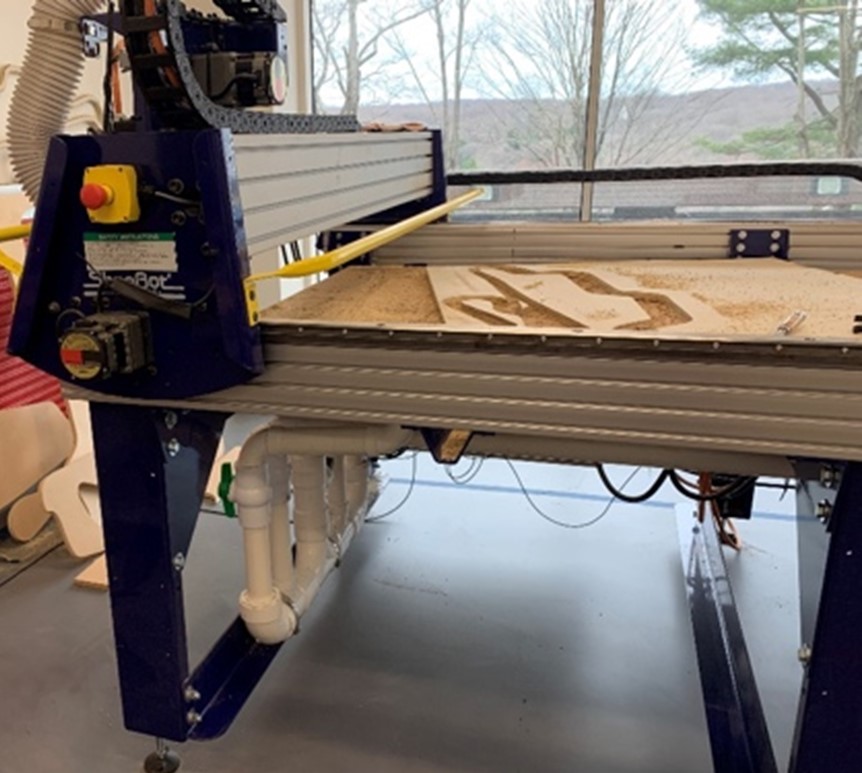
The main challenge was keeping in mind all the add-ons like the monitor and outlets. When designing it is easy to forget about the real-world parts that play into the design after it is built. Also being one of my first major CNC projects with the ShopBot, we did not have much experience with tolerances. By designing the CAD model with an exact thickness of 3/4 of an inch, it was harder to fit the finger joints together as there was zero give between parts. For this project on we used 18mm as the thickness because it allowed for a more forgivable distance that was more realistic.